Kickass Women

History is filled with women doing all kinds of kickass stuff.

Smart Girls

Watch these girls... they're going places!

Inspiration

Need a dose of inspiration? Here you go.

SRPS Entertainment

Some of my entertainment recommendations with awesome female characters and stars.

She's Crafty!

Some of the awesome items made by kickass women!

Showing posts with label etsy. Show all posts

Wednesday, August 14, 2013

She's Crafty!


Erin M. Riley's pop culture tapestries are intricate and moving. She deftly captures intimate snapshots of time in a woman's life. Many of them are NSFW, and some are quite disturbing, but they are all beautiful.


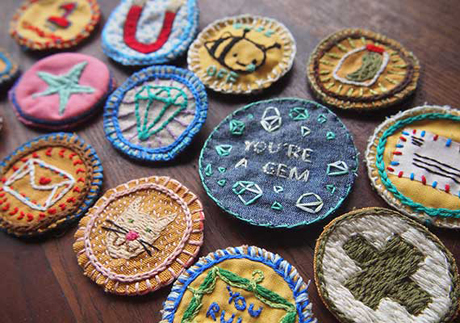
This gorgeous embroidery is just too amazing for words. Which is good, because my high school French is très rusty.


I'm spending far too much time thinking of awesome badges to make for all my friends. Because, seriously, this is cool!


I'm just amazed by this magnificent Mario Maps cross stitch piece. While I appreciate all forms of fiber arts, I have a special love for cross stitch. It appeals to my need for organization and precision. In my time, I've completed several large-format cross stitch projects. I know the amount of work that goes into them.


I mean, the details are just wonderful! I know pixel art lends itself quite easily to cross stitch, but this is so much better.


You know, perler beads kinda get a bad rap. I get the impression that some people think they're kitschy and mainly for little kids. But once in a while I see something that stops me in my tracks. And it's this ridiculously detailed Legend of Zelda Triforce Montage by NestalgicBits. In fact, his whole store is filled with amazing game-related items that bring a whole new level of amazing to crafting with perler beads.

Thursday, January 24, 2013

She's crafty!

Susi over at Just Crafty Enough, show how to make a stegosaurus hoodie towel. Now I want one. But in rainbow, of course.


I am fascinated by Lisa Nilsson's collection of Quilled Paper Anatomical Cross Sections. Made from the gilded edges of old books and Japanese mulberry paper, they are exquisite -- full of detail and texture.
Quilling was first practiced by Renaissance nuns and monks who are said to have made artistic use of the gilded edges of worn out bibles, and later by 18th century ladies who made artistic use of lots of free time. I find quilling exquisitely satisfying for rendering the densely squished and lovely internal landscape of the human body in cross section.

At Gingerbread Snowflakes, Pam talks about the history of Punched Tin Can Frames and shows us how to make our own.
New Mexican tinsmiths plying their trade in the mid 1800's were the ultimate recyclers! Every scrap of tin that came over the Santa Fe Trail by wagon, or later by rail, was reused to create frames and nichos for prints and statues of religious icons. Sconces, candle holders and candelabra needed in pre-electric New Mexico churches and homes were also fashioned from "recycled" tin cans.

Instructables regular Cinnamontwisties uploaded photos and info about the super awesome BatMobile she made for her toddler.
When it was time for the munchkin to get the typical toy car to drive around in (she's 16 months and LOVES her cousin's car) I couldn't have any old toy laying around clashing with my "theme." And besides... why settle with typical store bought when DIY is sooo much better?!

Klari Reis uses petri dishes and reflective epoxy polymer to capture electron microscopic images of cellular reactions.


I am in love with these sweet greeting cards made from woodcuts from celiahart.
The images on this card are from my woodcut, 'The birds' wedding day' inspired by the mistle thrushes that I see in the ancient yew tree right outside my studio window, are the first birds to start to build their nest, just as the first primroses begin to flower and on sunny days a brimstone butterfly flutters by. Valentine's Day, 14th February, in England is traditionally the birds' wedding day.

Saturday, July 14, 2012

She's Crafty

Women's history is seldom written as boldly as that of men. Sometimes it isn't written with ink and paper at all, but with a strand of silk thread on linen.
A while ago, Two Nerdy History Girls wrote about a truly amazing school girl's sampler, and have followed it up with another post, addressing the thought that most of these samplers found at auction come mainly from Northern US cities, and few come from the South.


They also give a shout out to the Quilt Index, which is an iPhone app that catalogs beautiful quilts and makes those images available on the go.

Speaking of iPhones, check out these cool Cross Stitch iPhone covers: I might have to make one of these!


And check out this Spring Unicorn Cross Stitch pattern. It is made of awesome.


I wish I'd seen this embroidery Geologic Cross Section when I was taking my geology class last semester! My cross sections were just boring old photo copies. How cool would it have been to have made one of these to turn in?


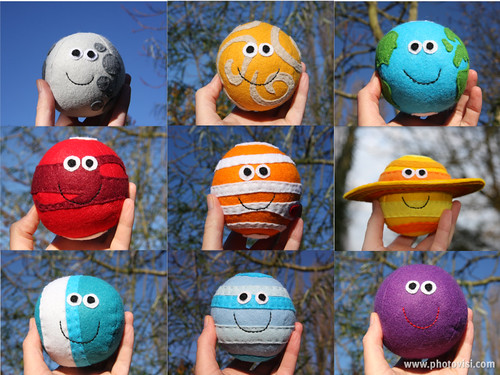
And keeping with geeky science crafts, I am in love with these Planet Plushies (h/t Geek Crafts):


If you're still worried about zombies, you might want to make this Amagurumi Plant:


There have been lots of ideas for using paint swatches to make different decorations. I'm kinda impressed with these cute little gift boxes and may actually play around with this using some of the paint chips I have on hand from different redecorating projects.


And last but not least... Batman pot holders... I know at least one person who would love these:


Friday, April 6, 2012

She's Crafty!

So many geeky crafters were busy this last week or so, gearing up for Sunday's premier of season 2 of Game of Thrones.

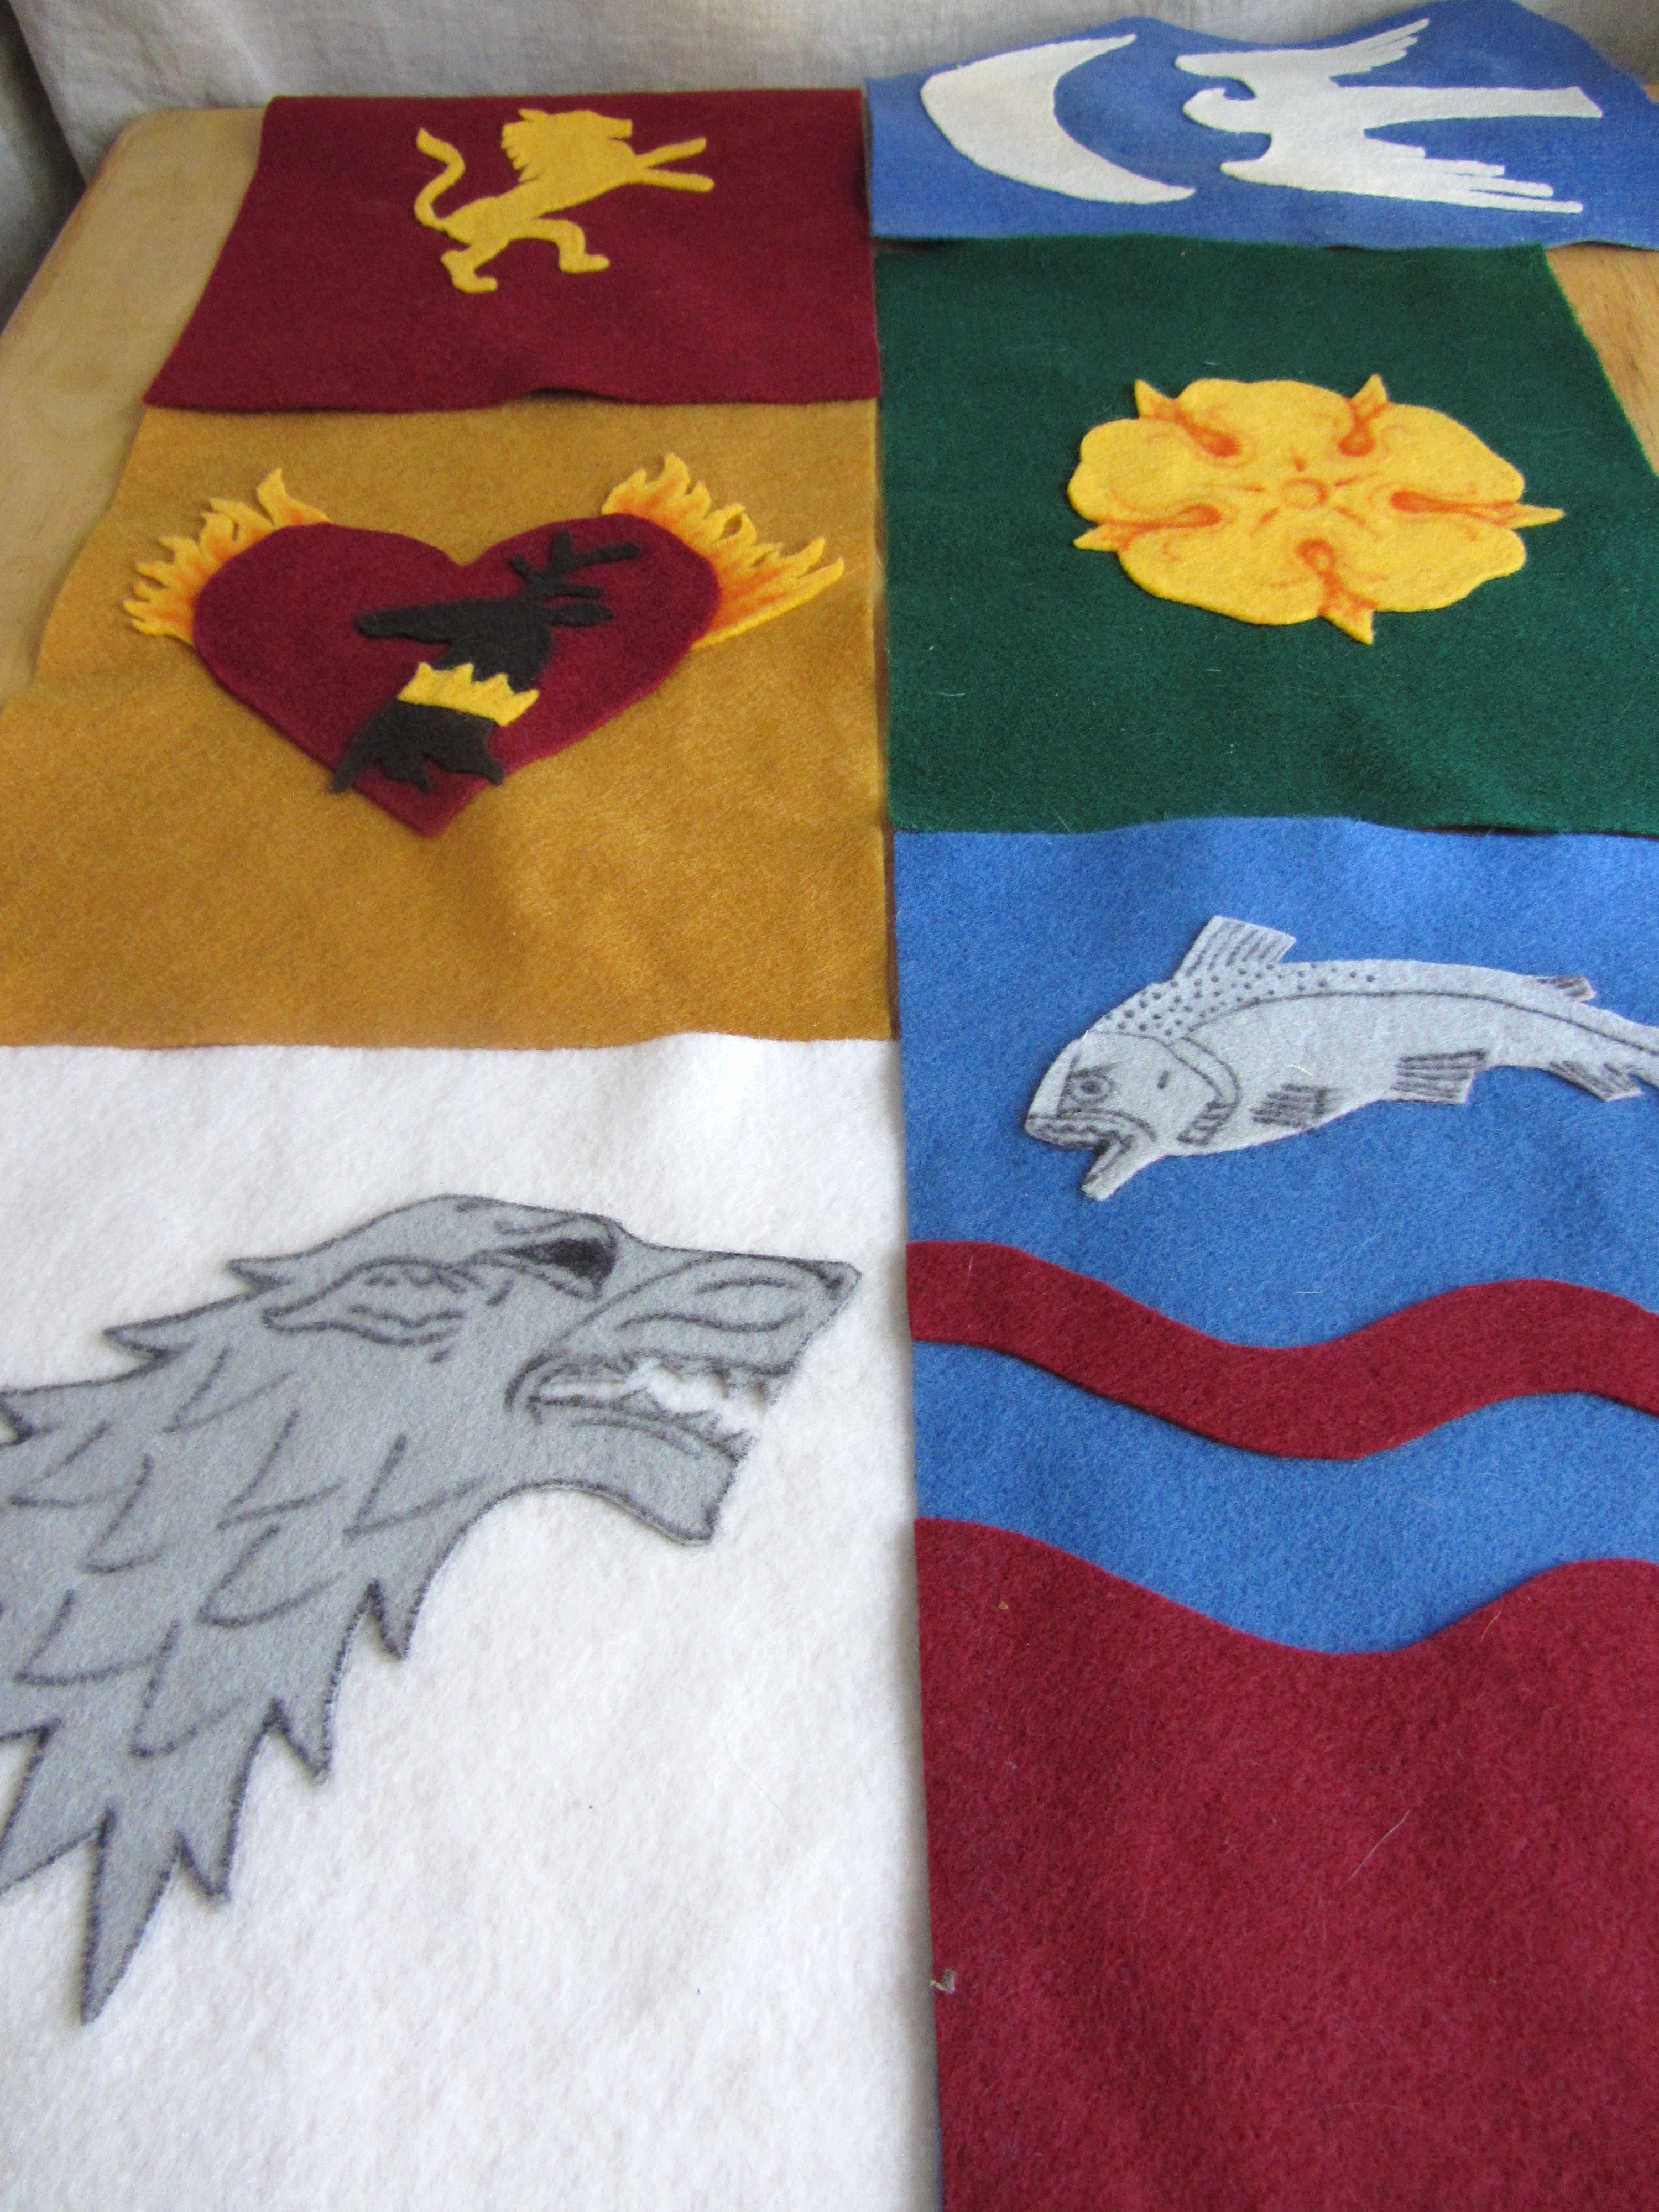
The folks over at Inn at the Crossroads had great recipes and craft ideas for a kick-off party. I love these DIY house banner placemats:


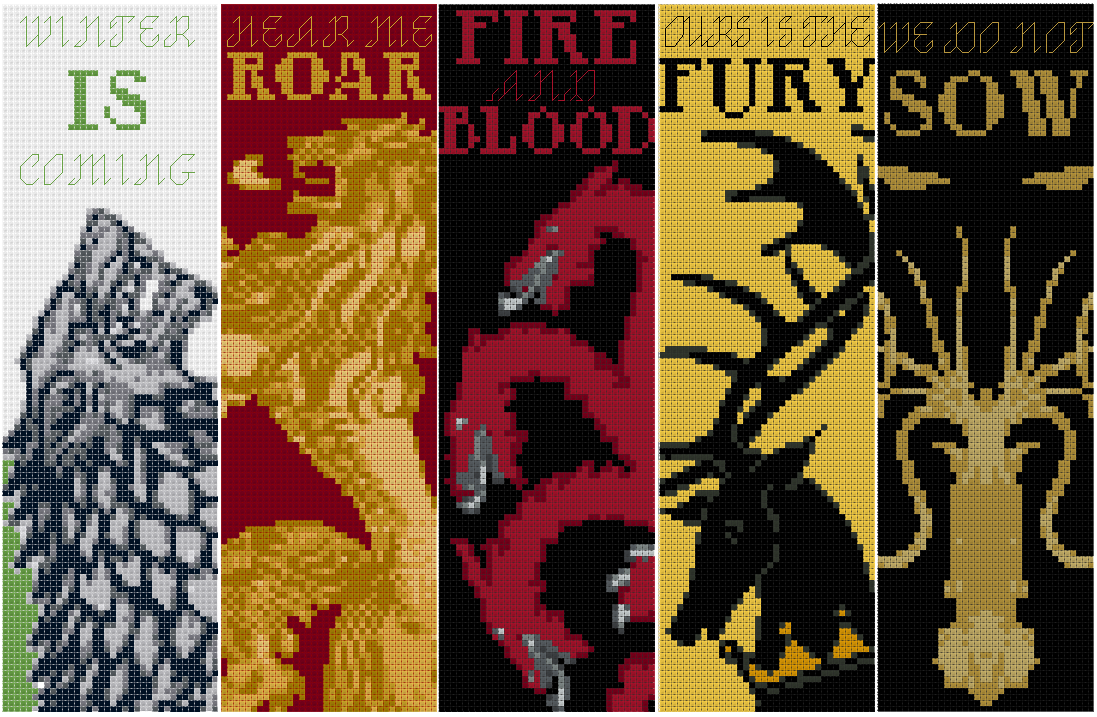
And black-lupin over on DeviantArt has lots of seriously awesomely geeky cross-stitch patterns (like these Star Trek:TNG mini cross stitch figures:). I think these Game of Thrones bookmarks are going into several Christmas stockings this year!


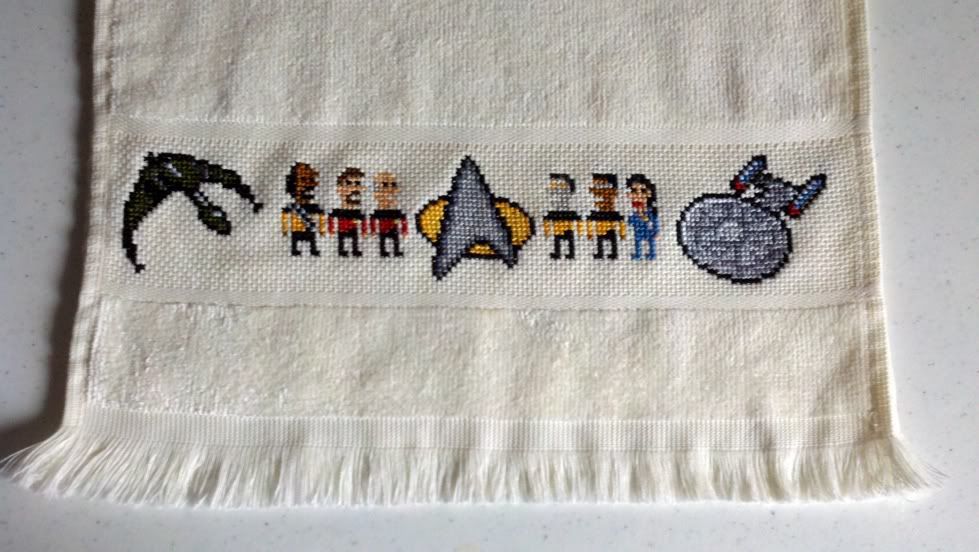
Speaking of Star Trek cross stitch, I adore this hand towel from starrley on the sprite stitch forums:


My blog-friend over at Sincerely Emily shared some beautiful beaded eggs she made:


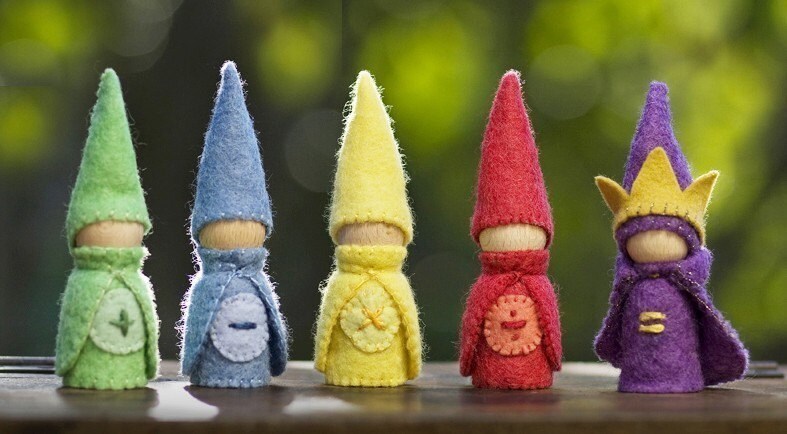
I found these super cute peg math wizards on Julie Blanchette's esty page:


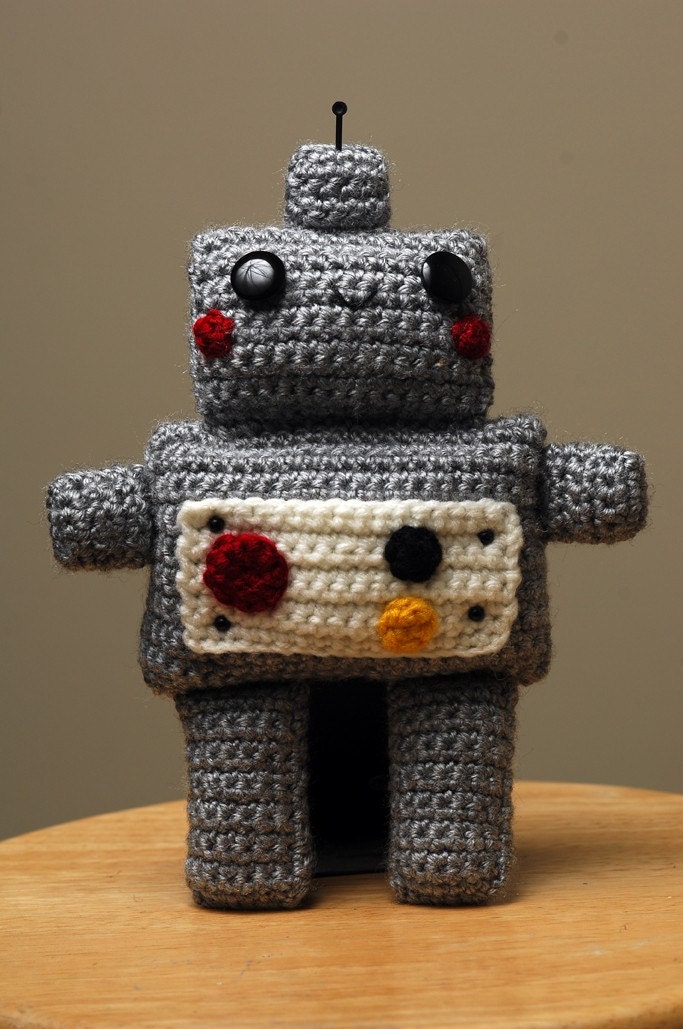
Another fabulous find from etsy (I love robots!) comes from calliecalliejumpjump:


And, to celebrate the beginning of baseball season, Oops! I craft my pants made this fantastic baseball wreath:


What are you crafting these days?

Saturday, March 31, 2012

She's Crafty!

I just love geeky crafts! I love how creative folks get about their geeky pursuits.

Like these lovely and amazing scarves:


They're the emission spectrum of different elements. You might have to explain it to your non-scientist friends, but even if you don't, they're still pretty!

And speaking of knitting and science:


It's not exactly a scarf, but this is one of the coolest things I've seen in a while:


A beaded necklace-wrap based on the Doctor's scarf? Yes, please!

And for those with wee scientists in their lives, check out Verdant Violet's etsy page, where you'll find all kinds of greatness:


Sunday, May 8, 2011

Secret Project Revealed - Cthulhu Blanket!

Last week, I got it in my head to buy a pretty little bobble for my friend Cat, who hasn't been feeling well lately. I went to etsy and looked up different cute Cthulhu items, when I saw a listing for a Cthulhu quilt. Without meaning to disparage that quilter's efforts, I thought to myself, "I could do something better than that!" So, I decided that I needed to.

Cthulhu blanket!


I pulled out my green fabric and thought about what else I needed. I stopped by Goodwill to look for some kind of fuzzy blanket for the backing. At first, I found a nice red fleece blanket, but then I decided to take a look at the bathrobes, just in case there was something there that would be even better.

What I found was beyond my best wishes! There was a perfect bathrobe: pink, fuzzy, and just the right size.

Fits perfectly! Sorta.

The back panel is big enough!
I don't know what size this robe was, but the back panel alone was big enough for what I had in mind. So I set myself to ripping out the seams and seeing what I could make of it.

See how soft and fuzzy?
Once I'd pulled out the back panel, I laid it out to see what kind of design I could make work.

Mr. Bob, for scale.
I had a lot of fabric to work with, but coming up with the layout still took a bit of drafting. And several paper bags for the pattern.

Homemade pattern.
I decided to turn the robe panel upside down and make the smaller end the bottom of the blanket. Then I taped together several sheets of brown paper and sketched the basic pattern on the paper.

The rough idea.
And don't forget the wings:

It's not Cthulhu without wings.
Cut and ready to go.
Measure twice, cut once, right? Especially when you only have a finite amount of the favorite fabric!

This is why I buy colorful sheets when I find them.
Fortunately, I had a larger piece of green sheet fabric!

Ready to go.
And don't forget the tentacles!

Tentacles!


I cut on section of the tentacles out of the same green as the Cthulhu front, but the back section out of a slightly lighter shade of green.
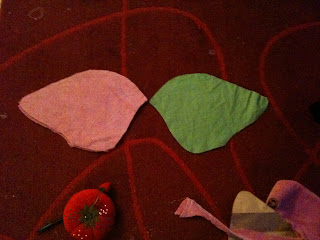
Wings!
And the fronts of the wings.

Finished wing.
I sewed the wings together, and inserted a panel of bright pink satin on the fronts. I did the first wing the hard way, by cutting out the green center and trying to sew them together. HARD! I did the second wing the easier way, by pinning the pink to the back of the green, sewing them together and THEN cutting out the green center. I intentionally left the green unfinished, so it will fray slightly over time and give the wings a more ragged look.

Finished front panel.
I sewed the tentacles together and turned them right-side-out. I then sewed them to the green Cthulhu front panel. I also sewed a pair of eyes made from some super soft black scrap fabric I had leftover from a Cat Woman costume I made ages ago.

Finished back panel.
I sewed the completed wings directly to the back of the pink panel. I then pinned the wings back, and the tentacles out of the way, and sewed the two big panels together.

And then, voilá! Done!
All done!
Isn't this the coolest thing ever?

Wrapped up pretty.
All wrapped up and ready to go!